Managing a WooCommerce store effectively also means establishing transparent communication with the customers, making them feel protected against the goods they have ordered. It becomes essential to add tracking codes with the shipments so they can always know when they will receive their orders.
In addition, providing information about shipments avoids having to manage many answers to the questions of customers who want to know the status of their orders. For this, adding WooCommerce shipment tracking can enhance the customer experience and increase your online business’s viability.
In this article, I’ll tell you why shipment tracking is important, how you can set up WooCommerce shipment tracking, and some of the best shipping plugins you can consider for your online store.
Why Is Shipment Tracking So Important?
Imagine your order is out for delivery, but you don’t know its whereabouts. You’ll get anxious! You might start doubting the store owners and feel like you’ve been scammed. This is why you need shipment tracking to reassure your clients.
Here are a few other reasons why shipment tracking is important.
- It gives transparency to customers by keeping them updated about their order status.
- It increases customer satisfaction and experience.
- It builds customers’ trust in your brand.
- It gives the business a competitive advantage.
- It reduces the chances of fraud on the customer’s side.
- It decreases shipping errors with automation.
How to Set up WooCommerce Shipment Tracking
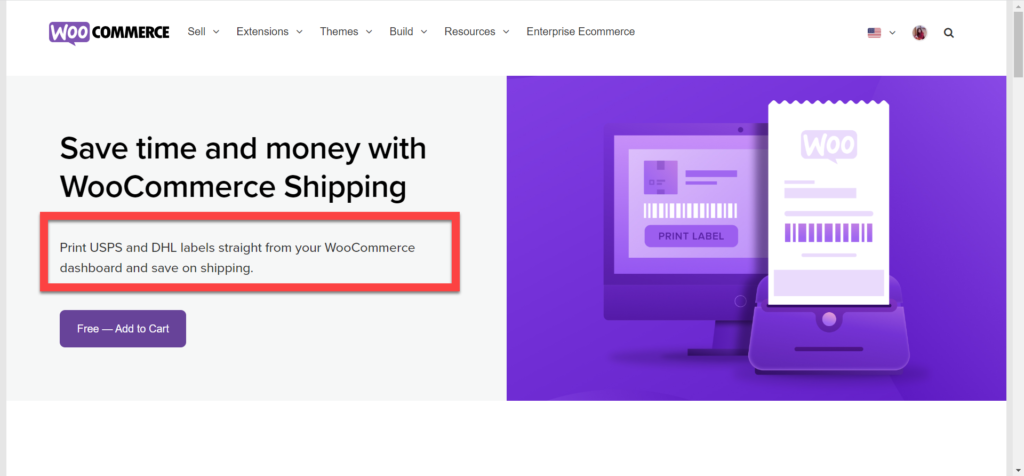
WooCommerce comes with a default shipping extension called WooCommerce Shipping. Unfortunately, it has a few basic options and does not allow you to provide customer shipment tracking information. Besides, it only supports USPS and DHL at this time. This means if you are looking for other shipment providers, this extension won’t be useful for you. Therefore, we will not be using it.
Although different plugins are available for WooCommerce shipment tracking, I’ll recommend Advanced Shipment Tracking (AST) since it offers useful features that I’ve explained in the next section.
Want to add shipment tracking to your orders?
Explore the WooCommerce plugin repository and try Cloudways managed hosting for a hassle-free experience.
Advanced Shipment Tracking for WooCommerce
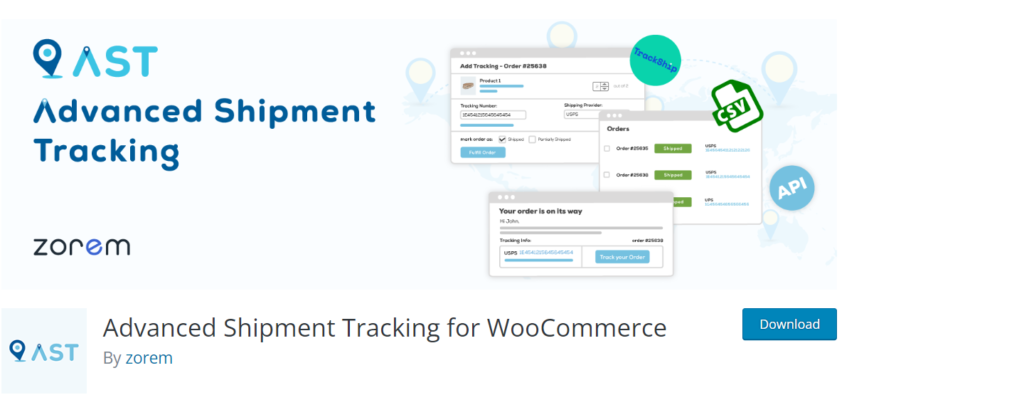
With over 60,000+ active installations, Advanced Shipment Tracking for WooCommerce is a freemium plugin that lets you add shipment tracking to your orders. It supports more than 300+ shipping carriers from across the world. You can also custom-track messages and customize email templates and order statuses.
Features
- Allows you to add shipment tracking data to the order details page and email.
- Option to select from the set of pre-defined shipping carriers.
- Provides sync with TrackShip.
- Allows you to bulk import tracking details through the CSV import option.
- Allows you to add multiple tracking numbers to a single order.
- Add custom order statuses.
For more advanced features, you can get Advance Shipment Tracking Pro for $129.00/year.
Step 1: Install and Activate the Plugin
The first step is to install and activate the plugin.
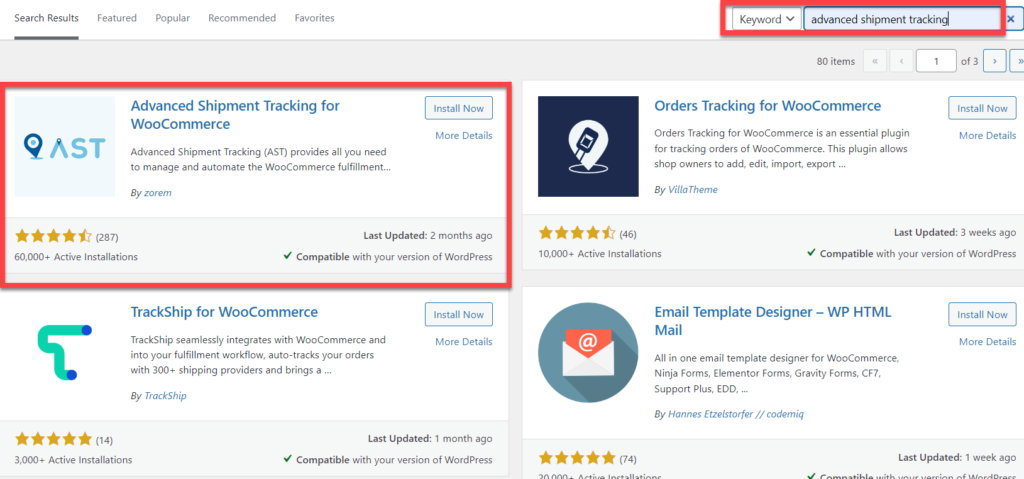
- Go to WooCommerce Dashboard → Plugins → Add New;
- Type “Advanced Shipment Tracking” in the search box;
- Click the Install button and then Activate the plugin.
Step 2: Configure Shipment Tracking
- Once you’ve activated the plugin, you can see the Shipment Tracking option added under WooCommerce.
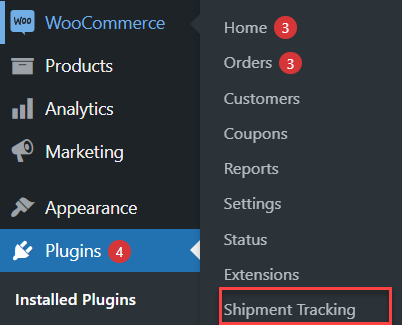
- Click on Shipment Tracking. You’ll be redirected to the following page

- You can explore these sections and modify things as per your need.
- In the settings section, there are 4 subcategories.
- Fulfillment Workflow: You can select the fonts and colors to display the shipped/partially shipped status.

- Add Tracking Options: You can add the tracking info here and select the options you wish to display. Once done, click save.

- Customer View: You can edit the options for a better customer view in this section.

- Shipment Tracking API: You can change the date format.

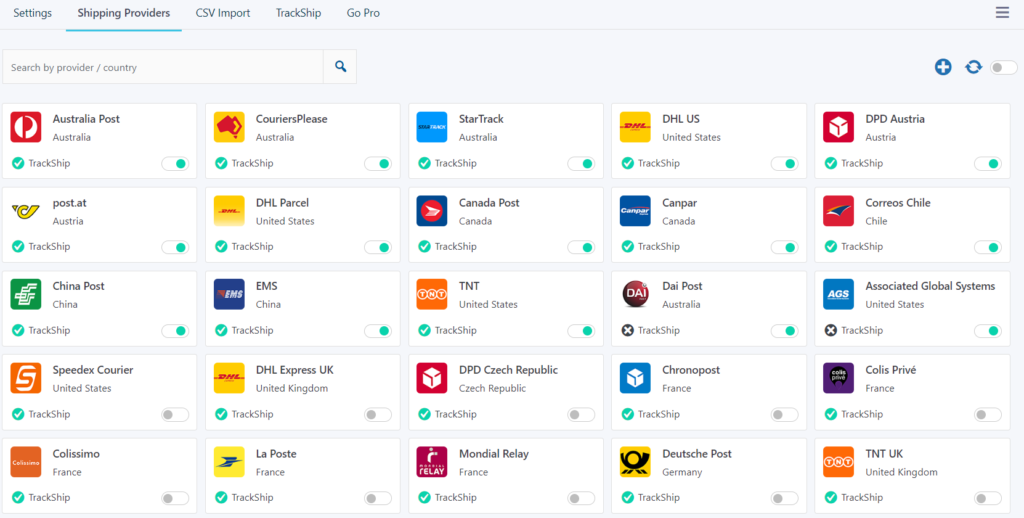
- Next is the Shipping Provider section. You need to select the relevant shipping provider from the drop. AST comes with a list of 400+ shipping carriers with predefined tracking links.
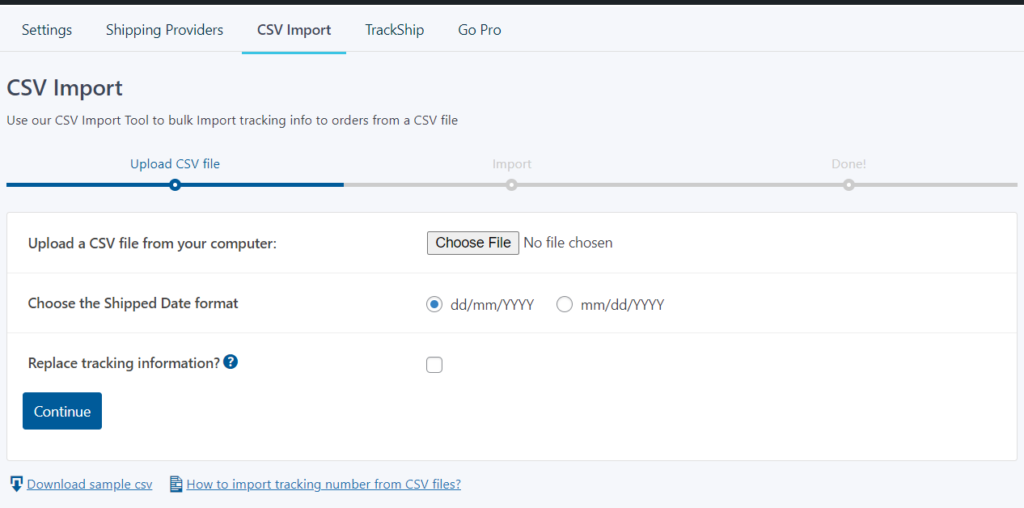
- CSV Import can bulk import the tracking information to multiple orders.
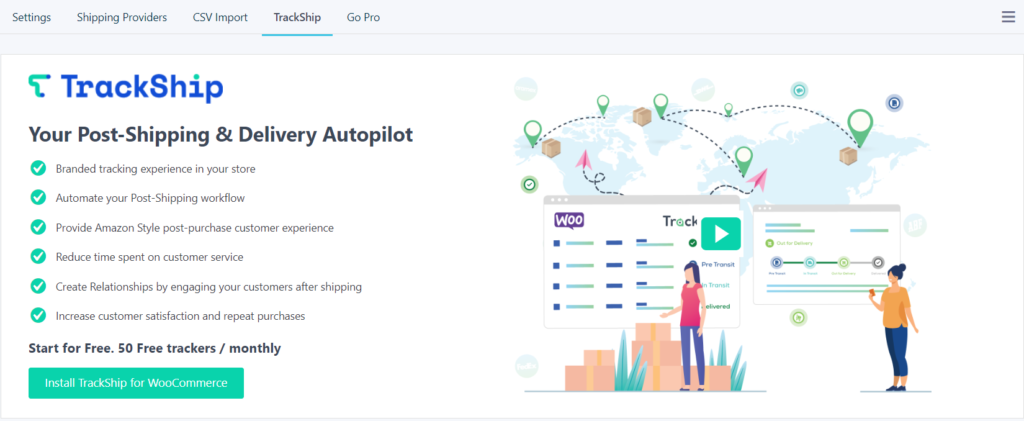
- You can integrate TrackShip with the Advanced Shipment Tracking plugin for a full shipment tracking stack.
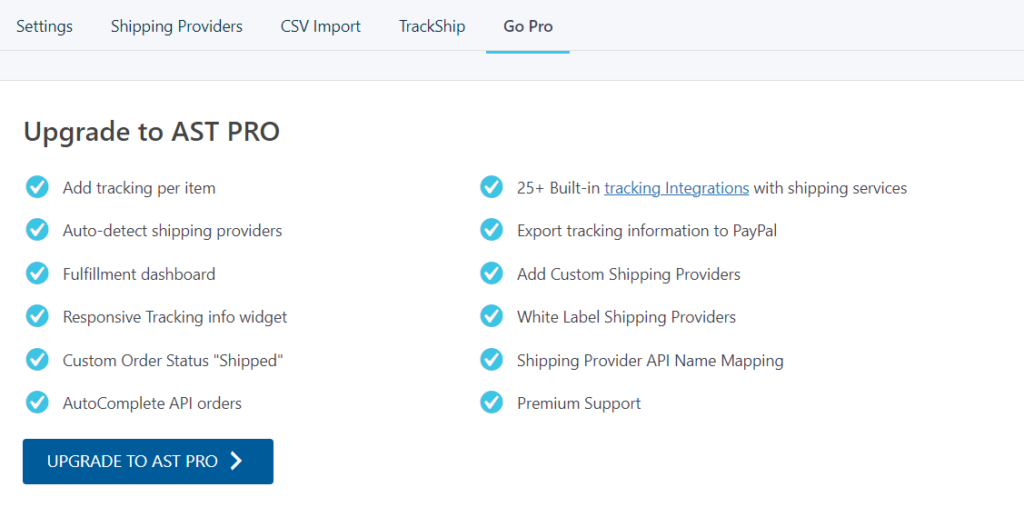
- If you want extended features of this plugin, you can always upgrade to Advanced Shipment Tracking Pro.
Step 3: Add Shipment Tracking to Your Orders
Once you’ve configured the settings, you can now add shipment tracking to your orders. For this;
- Go to WooCommerce Dashboard → Select Orders;
- You’ll be redirected to the Orders page.

- Select the order on which you want to add shipment tracking. You will see the shipment tracking section.
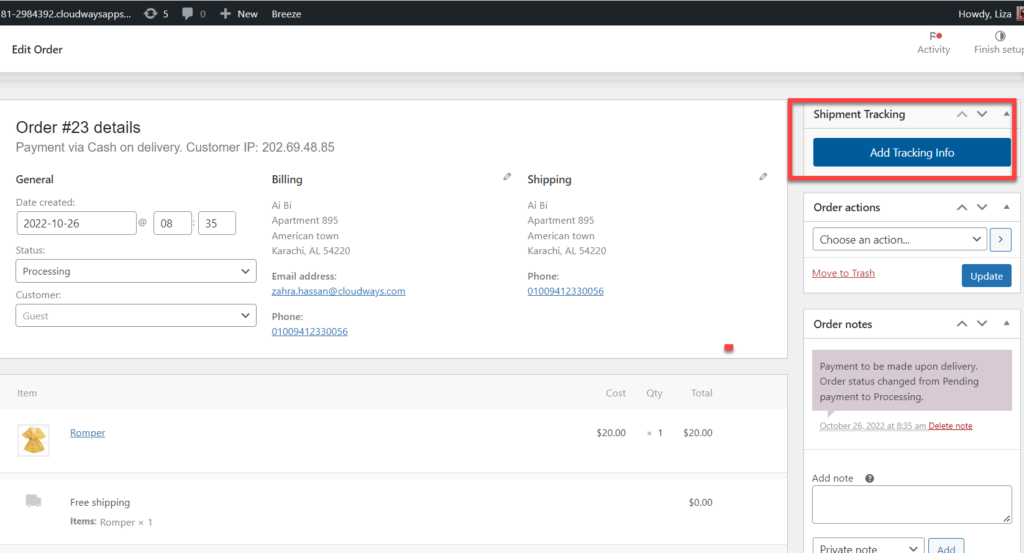
- Click the Add Tracking Info
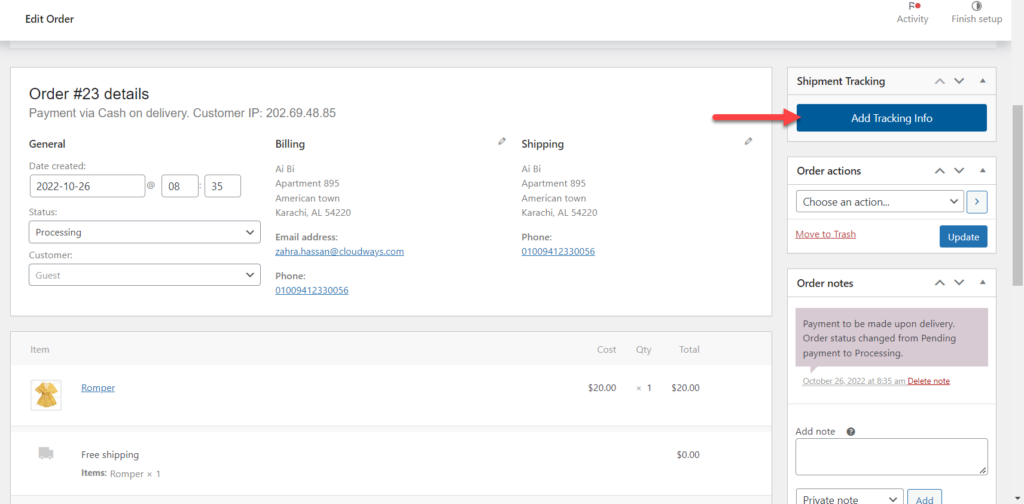
- Now fill in the details and click Save Tracking.

Step 4: Verify Shipment Tracking
- To check whether shipment tracking worked or not, go to WooCommerce Dashboard → orders;
- If you can see shipment details with the tracking ID and shipment provider, it means the plugin has been configured properly.

How to Enable Order Tracking in WooCooCommerce
As a WooCommerce store owner, you want to keep track of all your shipments. This makes it easy to keep track of your orders and avoid any possible mismanagement.
While there are many plugins to assist you with this, such as TrackShip, AfterShip, or ShipStation. But I’ll recommend TrackShip for WooCommerce because it integrates seamlessly with the Advanced Shipment Tracking that I used earlier.
Here’s how you can use this plugin.
Step 1: Install and Activate the Plugin
- Go to WooCommerce Dashboard → Plugins → Add New;
- Type “TrackShip for WooCommerce” in the search box;
- Click the Install button and then Activate the plugin.
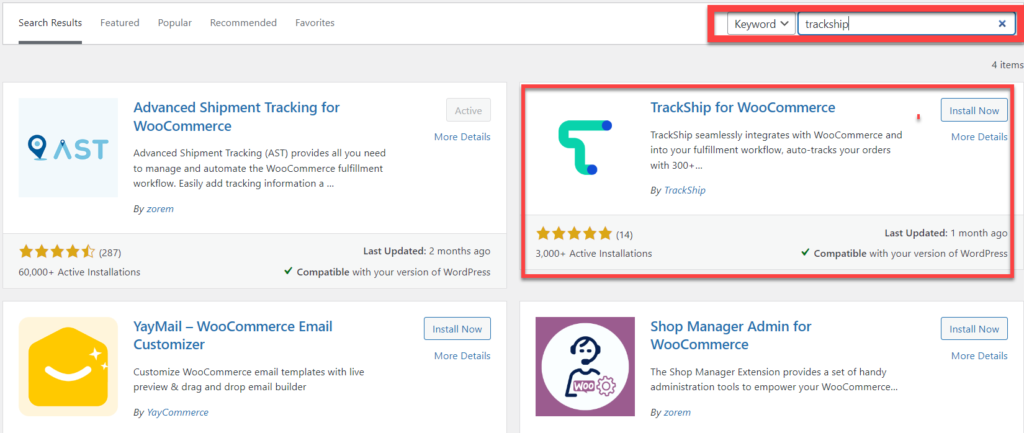
Note: You cannot install the TrackShip plugin if you don’t have a shipment plugin activated.
![]()
Step 2: Connect Your Store With TrackShip
- After you’ve activated the TrackShip plugin, you will see the TrackShip option on your WooCommerce Dashboard.
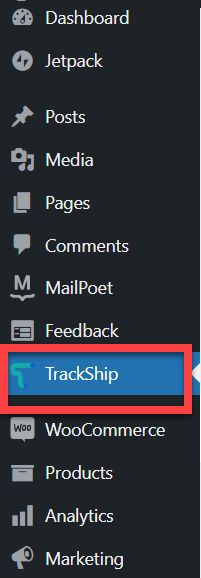
- Click on it, and you will be prompted to connect your WooCommere store.
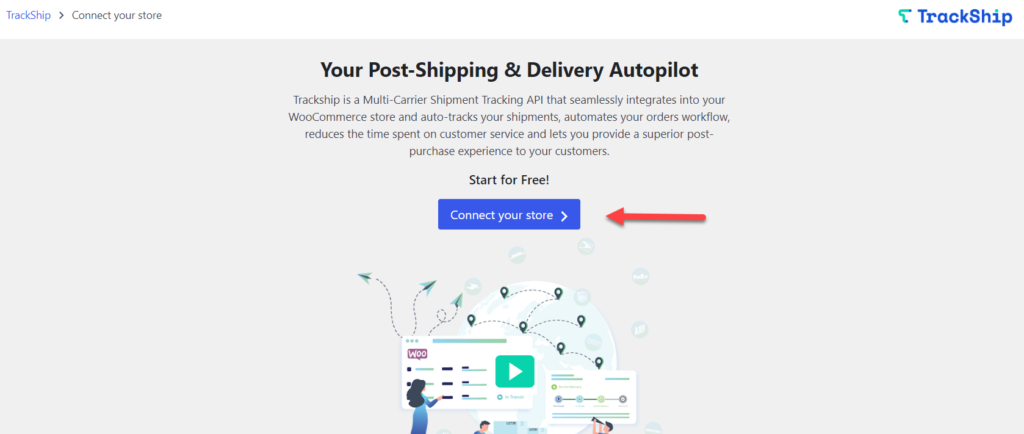
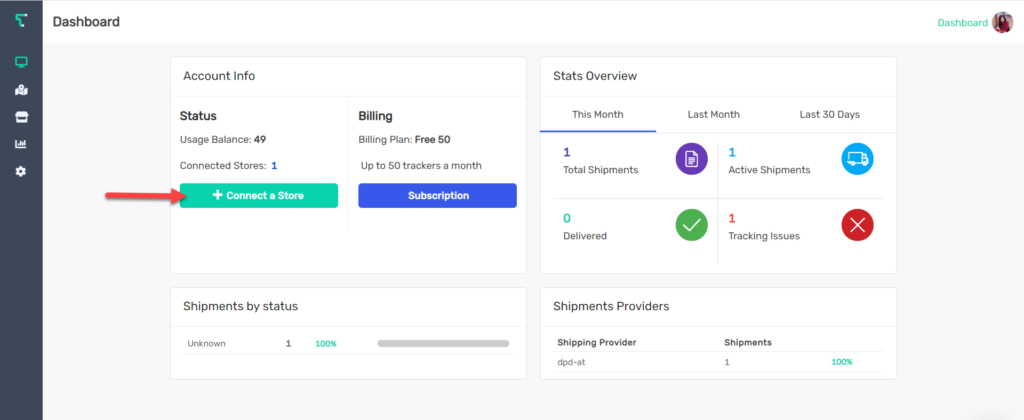
- After clicking on Connect your store, you’ll enter the TrackShip dashboard;
- Click the Connect a store button
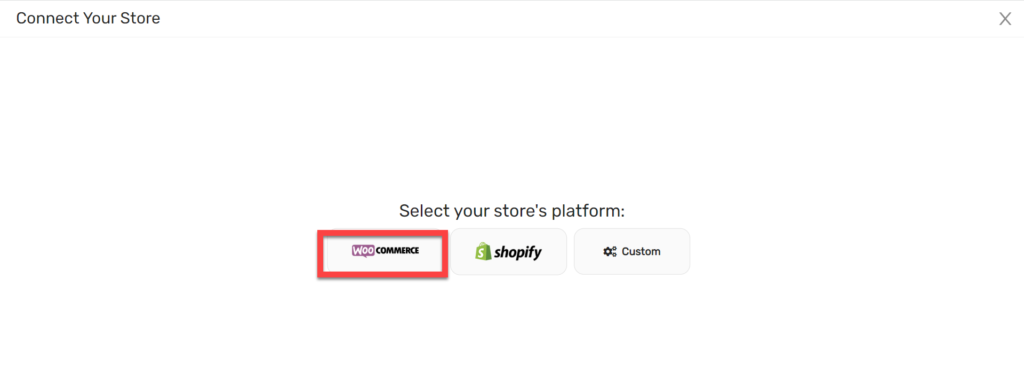
- Select your store’s platform. I will select WooCommerce in my case.
- Insert your store’s URL and click the Connect button
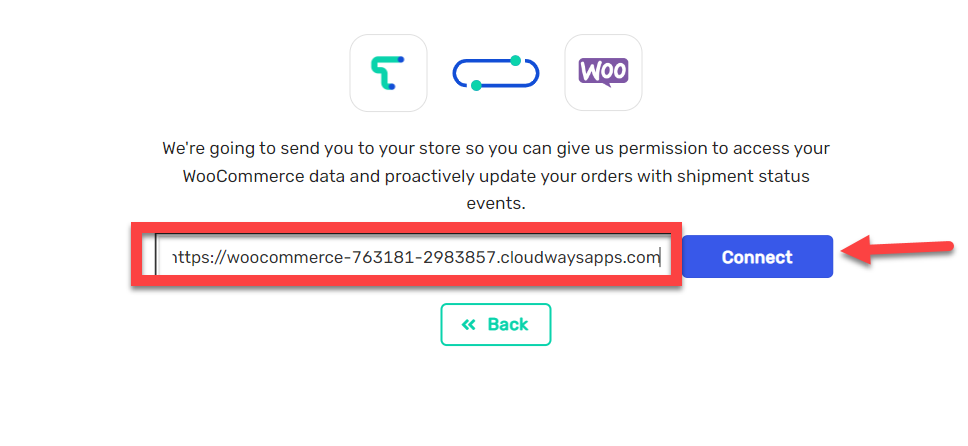
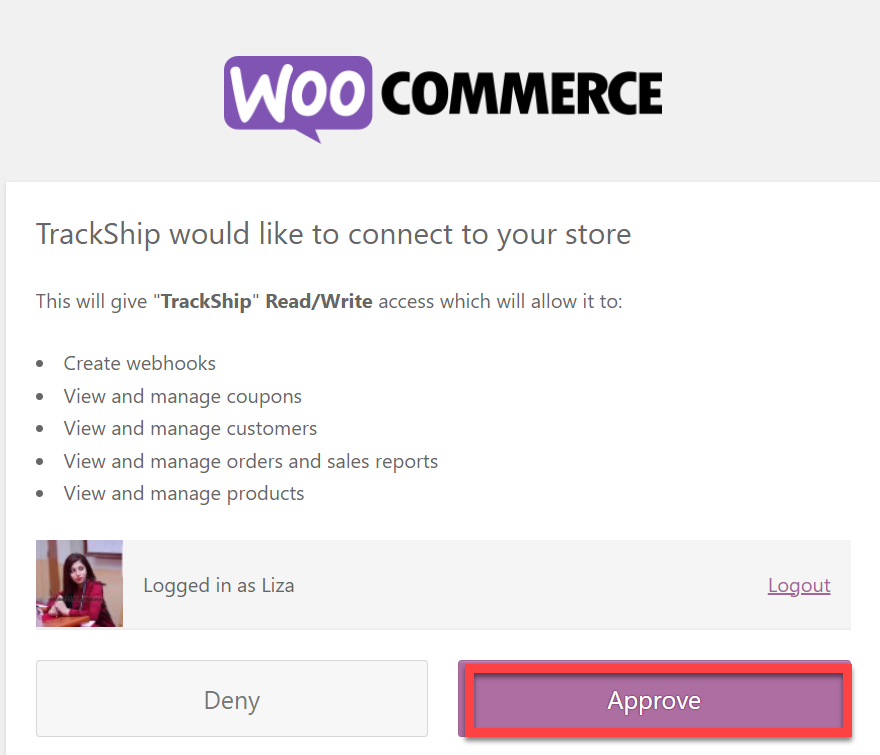
- Click the Approve button.
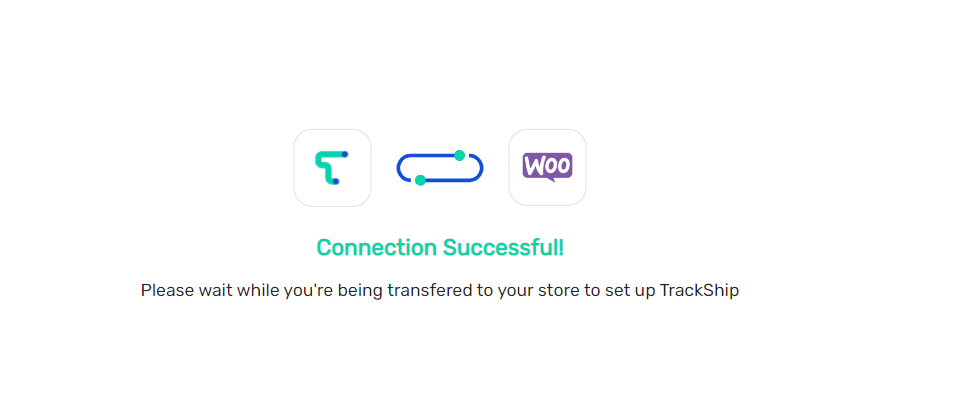
Tadaa! You’ve successfully connected your WooCommerce store with TrackShip.
Step 3: Configure TrackShip Plugin
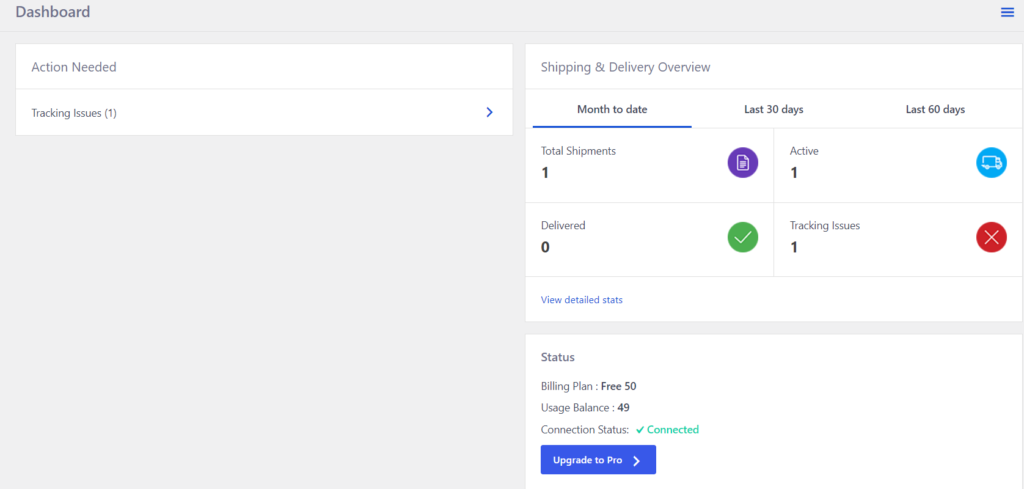
- Once your store is connected with TrackShip, you can enter the TrackShip dashboard through your WooCommerce dashboard.
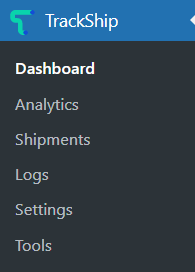
- It gives a visual overview of your shipment and delivery details.
- You can also view the TrackShip analytics through the option. It shows a graphical and numerical analysis of your shipments and deliveries.
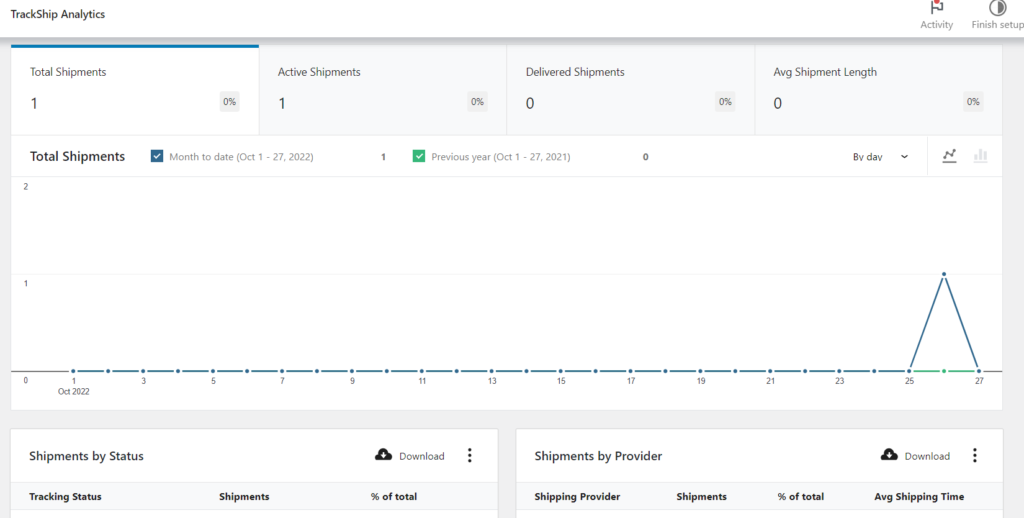
With TrackShip, you no longer need to worry about constantly updating your orders. It will auto-track your fulfilled orders and proactively update your orders whenever there is an update in the shipment tracking status until the shipments are delivered to your customers.
10 Best Shipment Tracking Plugins to Consider
Besides Advanced Shipment Tracking for WooCommerce, these are a few best WooCommerce shipment tracking plugins that you can consider.
- WooCommerce ShipStation Gateway
- ELEX WooCommerce USPS Shipping Plugin with Print Label
- WooCommerce Advanced Shipping
- WooCommerce Table Rate Shipping Plugin
- Table Rate for WooCommerce
- Conditional Shipping for WooCommerce
- Advanced Shipment Tracking for WooCommerce
- Flat Rate Shipping Plugin For WooCommerce
- WooCommerce Weight-Based Shipping Plugin
- YITH WooCommerce Order Tracking
You can read our detailed blog on best shipment tracking plugins for more information.
Summary
Adding shipment tracking to your orders solves most of the unresolved queries coming from your customer’s side. This article covers the importance of order tracking and all the steps required to set up WooCommerce shipping tracking with the Advanced Shipment Tracking plugin. If you still have any queries about this article, please feel free to comment below.
Customer Review at 
“Great performance for the price, and plenty of control”
Sean P [SMB Owner]
Liza Rajput
Liza Rajput is a Technical Content Producer at Cloudways. Being a software engineer, she loves to play with data and its processes and wishes to grow and excel in Data Science and Big Data Engineering. She has also been an avid reader and exceptional writer, with sufficient experience in technical, research-based, and creative writing.
