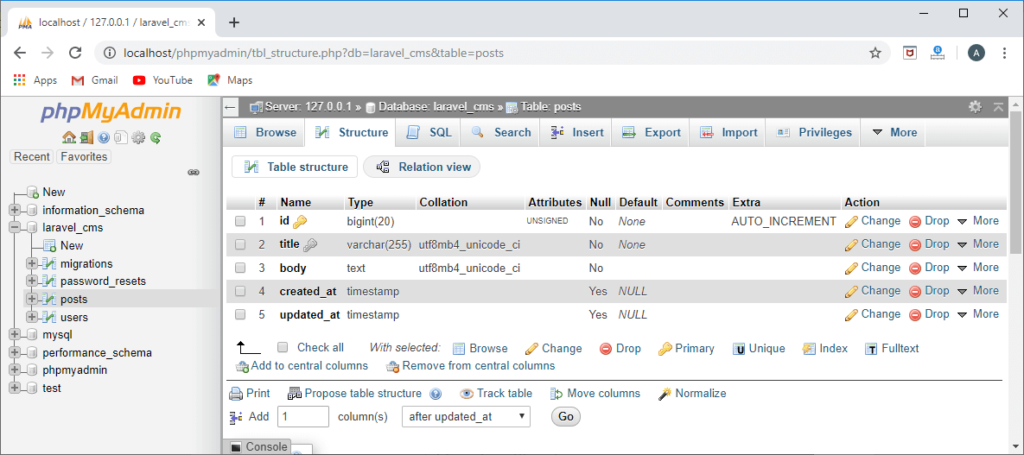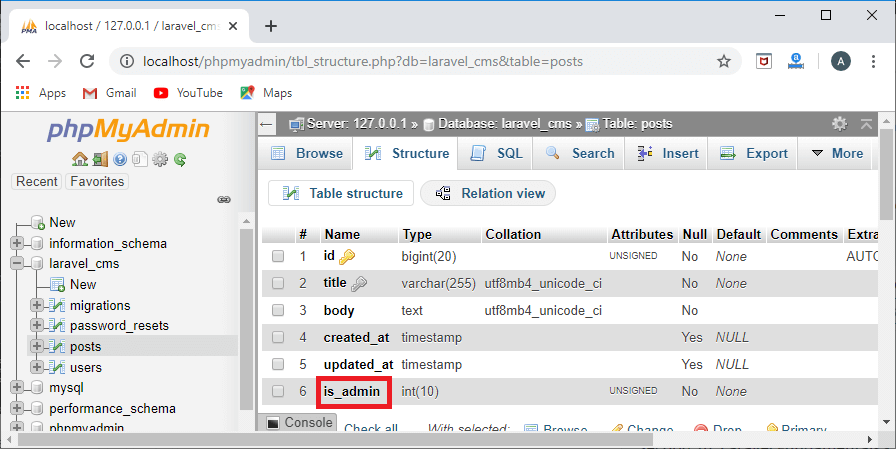
Laravel Migrations are fundamental for managing database changes in Laravel applications. They offer an organized approach to synchronize your database with your application’s codebase across various environments.
Imagine your application evolving over time, requiring changes to the database structure or the addition of new tables. Migrations prevent this process from becoming a manual, error-prone ordeal.
Each migration file is timestamped, ensuring a clear history of changes executed in the order they were created. This simplifies tasks like rolling back to previous states or applying changes incrementally.
This article provides a comprehensive tutorial on Laravel Migration, highlighting its importance, benefits, and practical usage. Whether you’re a beginner or an experienced developer, this guide equips you with the knowledge to effectively utilize Laravel Migration.
What are Laravel Migrations?
Laravel Migration is a set of instructions that define the changes you want to make to your database schema. These changes can include creating new tables, altering existing tables, adding or modifying columns, and seeding the database with initial data.
By encapsulating these changes within migration files, Laravel ensures that your database schema remains synchronized with your application’s codebase, making it easier to manage database changes across different development environments and deployment stages.
Laravel allows you to carry out migrations without worrying about the specific database system you’re using, whether it’s MySQL, PostgreSQL, SQLite, or others supported by Laravel. The framework abstracts away the database-specific syntax, making migrations both portable and adaptable to different database systems.
Unlock the full potential of Laravel migrations with our ultimate resource.
Experience the power of Laravel Migrations on Cloudways, streamline your development workflow with ease.
Why Would You Use Laravel Migrations?
Laravel Migrations offer a wealth of benefits that make them a must-have tool for web developers working with the Laravel PHP framework. Let’s explore some of the key reasons why you would choose to use Laravel Migrations in your web development projects.
| Aspect | Explanation |
| Database Schema Management | Laravel Migrations help manage and version-control database schemas, allowing for structured and organized changes to the database structure over time. |
| Version Control | Migrations are tracked in version control systems like Git, ensuring that changes to the database can be easily reviewed, rolled back, or applied across development environments. |
| Database Portability | Laravel provides a database-agnostic approach, allowing you to write schema changes once and easily switch between different database systems, such as MySQL, PostgreSQL, SQLite, or SQL Server. |
| Rollback and Recovery | Migrations offer tools for rolling back or resetting database changes, enabling developers to recover from errors, adjust the schema, and maintain a stable database state. |
| Documentation | Migrations serve as documentation for the database schema evolution, with each migration file containing a timestamp and a description of the changes made, improving codebase transparency and maintainability. |
| History and Rollback Control | Laravel keeps track of executed migrations and offers rollback limitations, ensuring that migrations are idempotent and controlled in their application and rollback. |
| Seamless Integration with Testing | This integration allows developers to create test databases with the same schema as the application’s main database, making it easier to write and execute database-related tests |
| Codebase Consistency | By encapsulating database changes in migration files, you ensure that every developer working on the project can apply these changes uniformly across different environments, from local development setups to production servers. |
| Dependency Management | Dependency management feature simplifies the process of managing complex database changes that rely on the existence of certain structures. |
| Collaboration | Since the database schema is defined in code, multiple developers can work on it simultaneously, and any schema changes can be easily shared and merged using version control systems like Git. This streamlines the development process and reduces conflicts. |
How to Implement Laravel Migration?
Creating a migration in Laravel is fundamental in managing your database schema changes. Let’s go through the process of creating a simple migration to better understand its structure.
Step 1: Create a Migration
In Laravel, you can create a migration using the make:migration Artisan command. Open your terminal and navigate to your Laravel project directory. Then, run the following command:
php artisan make:migration create_example_table
This command will create a new migration file in the database/migrations directory with a name like 2023_09_18_000000_create_example_table.php. The timestamp in the filename ensures that migrations are executed in the order they were created.

Step 2: Define the Schema
Open the newly created migration file using a code editor or the command-line text editor of your choice. You’ll find two methods in the migration file: up and down. The up method defines the changes you want to make to your database schema, while the down method specifies how to reverse those changes.
Here’s an example of a simple migration that creates a table called example with two columns:
use Illuminate\Database\Migrations\Migration;
use Illuminate\Database\Schema\Blueprint;
use Illuminate\Support\Facades\Schema;
class CreateExampleTable extends Migration
{
public function up()
{
Schema::create('example', function (Blueprint $table) {
$table->id(); // Auto-incremental primary key
$table->string('name'); // A string column
$table->text('description')->nullable(); // A text column (nullable)
$table->timestamps(); // Created_at and updated_at timestamps
});
}
public function down()
{
Schema::dropIfExists('example');
}
}
Step 3 : Adding Columns in Table
Run the following command to create a new migration file that adds a new_column to the example table:
php artisan make:migration add_new_column_to_example_table --table=example
Updating the Migration File:
Open the newly created migration file (e.g., 2023_09_18_123456_add_new_column_to_example_table.php) and modify the up and down methods as follows:
use Illuminate\Database\Migrations\Migration;
use Illuminate\Database\Schema\Blueprint;
use Illuminate\Support\Facades\Schema;
class AddNewColumnToExampleTable extends Migration
{
public function up()
{
Schema::table('example', function (Blueprint $table) {
$table->string('new_column')->nullable(); // Adding a new column
});
}
public function down()
{
Schema::table('example', function (Blueprint $table) {
$table->dropColumn('new_column'); // Dropping the added column
});
}
}
Step 4: Running the Migration
To apply the migration and create the example table in your database, run the following Artisan command:
php artisan migrate
This command executes all pending migrations. Laravel keeps track of which migrations have already been run in the migrations table of your database.

Other Migration Commands
Modifying database indexes, including adding, renaming, or removing them, can be done using Laravel migrations. Let’s walk through the process for each of these actions.
Adding To Index
use Illuminate\Database\Schema\Blueprint;
use Illuminate\Support\Facades\Schema;
Schema::table('users', function (Blueprint $table) {
$table->index('email');
});
Renaming Index
For renaming an index you can use renameIndex() for e.g.,
$table->renameIndex('email', 'mobile_no');
Removing Index
For dropping an index you can use dropIndex() for e.g.,
$table->dropIndex('email');
Using Foreign Key Constraints
Laravel can help you create foreign key constraints, which ensure that the data in your database stays consistent and follows the relationships between different tables.
$table->foreignId('id')
constrained('users')
cascadeOnUpdate()
cascadeOnDelete();
Conclusion
In conclusion, Laravel Migration simplifies database management in Laravel applications. It offers version control, database portability, collaboration support, rollback capabilities, and improved consistency and documentation.
These benefits collectively enhance the development process, making it more efficient and reliable while also contributing to the maintainability of Laravel projects.
In this blog we’ve covered the fundamentals and advanced aspects of using migrations to create, manage and modifying your database schema effectively.
If you have any questions, feel free to ask in the comments.
Q) Why should I use Laravel Migrations?
A) Laravel Migrations offer several benefits that make managing database schemas and structure in your application more efficient and organized
- Version Control for Databases
- Database Agnosticism
- Consistency and Reproducibility
- Database Structure Evolution
- Dependency Management and Ordering
Q) Can I roll back Laravel migrations?
A) Yes, you can roll back Laravel migrations using the command:
php artisan migrate:rollback
Q) Is it possible to run Laravel migrations in a testing environment?
A) Yes, it is possible to run Laravel migrations in a testing environment using the command specifying the testing environment.
php artisan migrate --env=testing
Q) Can I modify existing columns in Laravel migrations?
Yes, you can modify existing columns in Laravel migrations using the table method’s change function. Here’s an example of how you can do it:
public function up()
{
    Schema::table('your_table_name', function (Blueprint $table) {
        $table->string('new_column_name')->change();
    });
}
Inshal Ali
Inshal is a Content Marketer at Cloudways. With background in computer science, skill of content and a whole lot of creativity, he helps business reach the sky and go beyond through content that speaks the language of their customers. Apart from work, you will see him mostly in some online games or on a football field.
